What are the Puzzles?
The puzzles named – Tether and Symbol – were created to introduce tension and friction for the players, whilst also hinting towards how to beat the game’s boss.
Tether
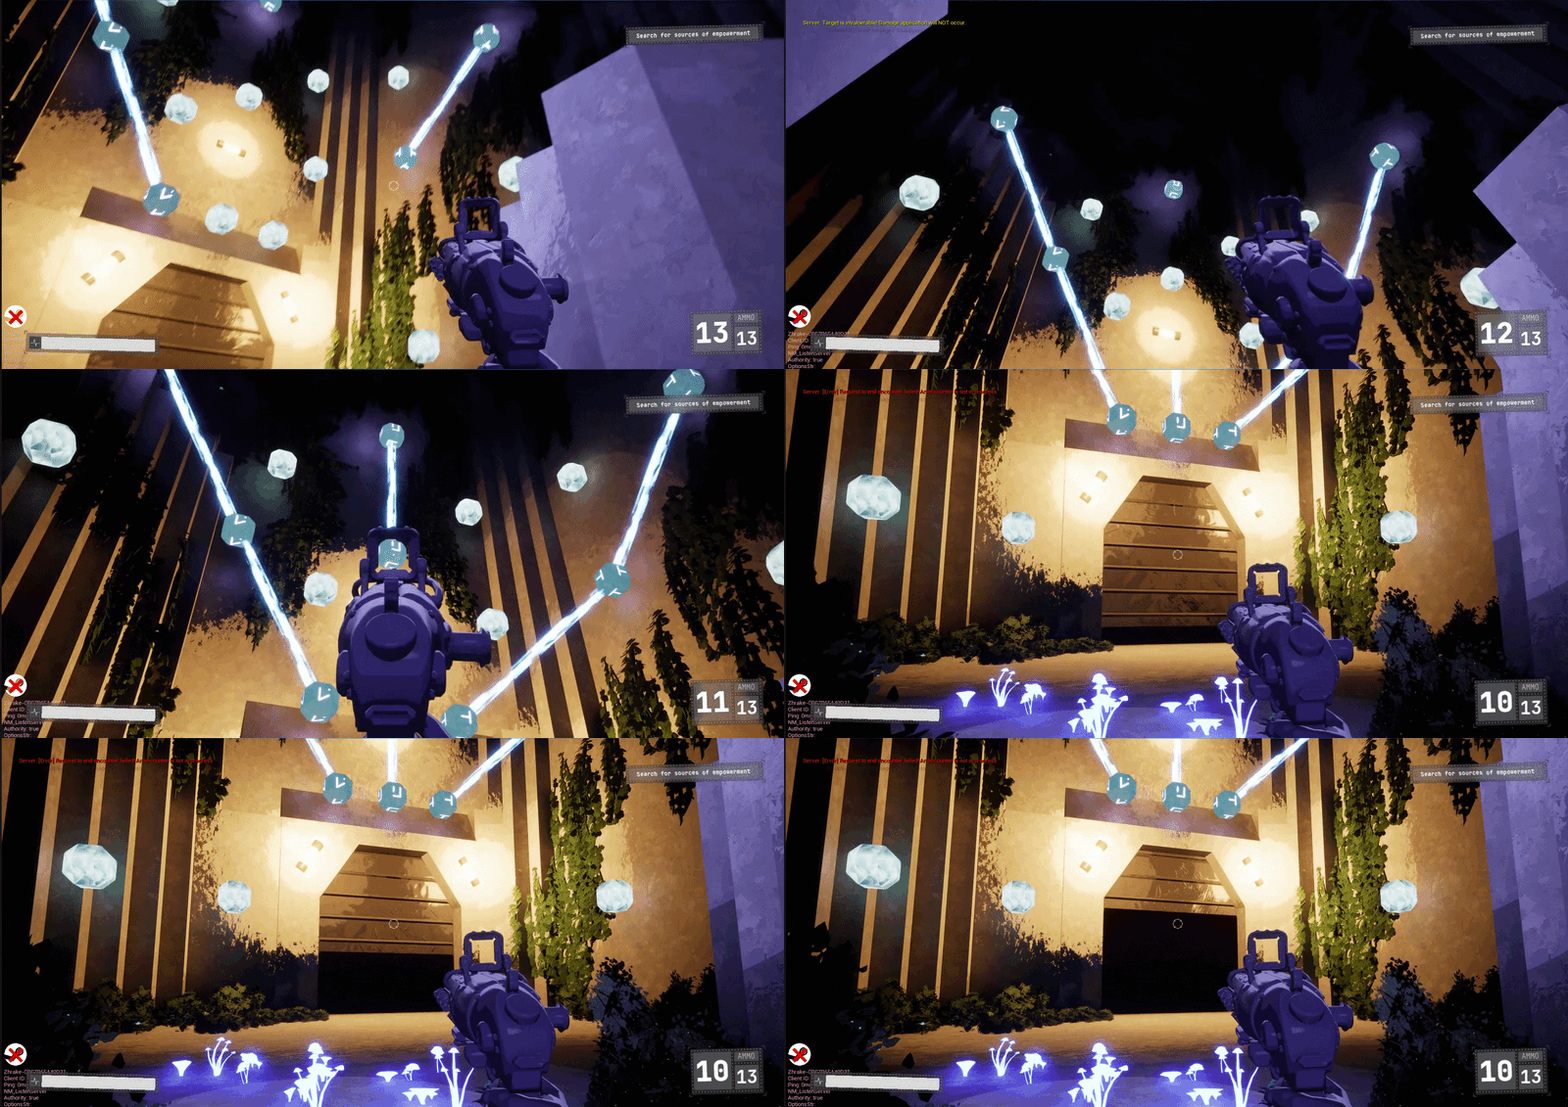
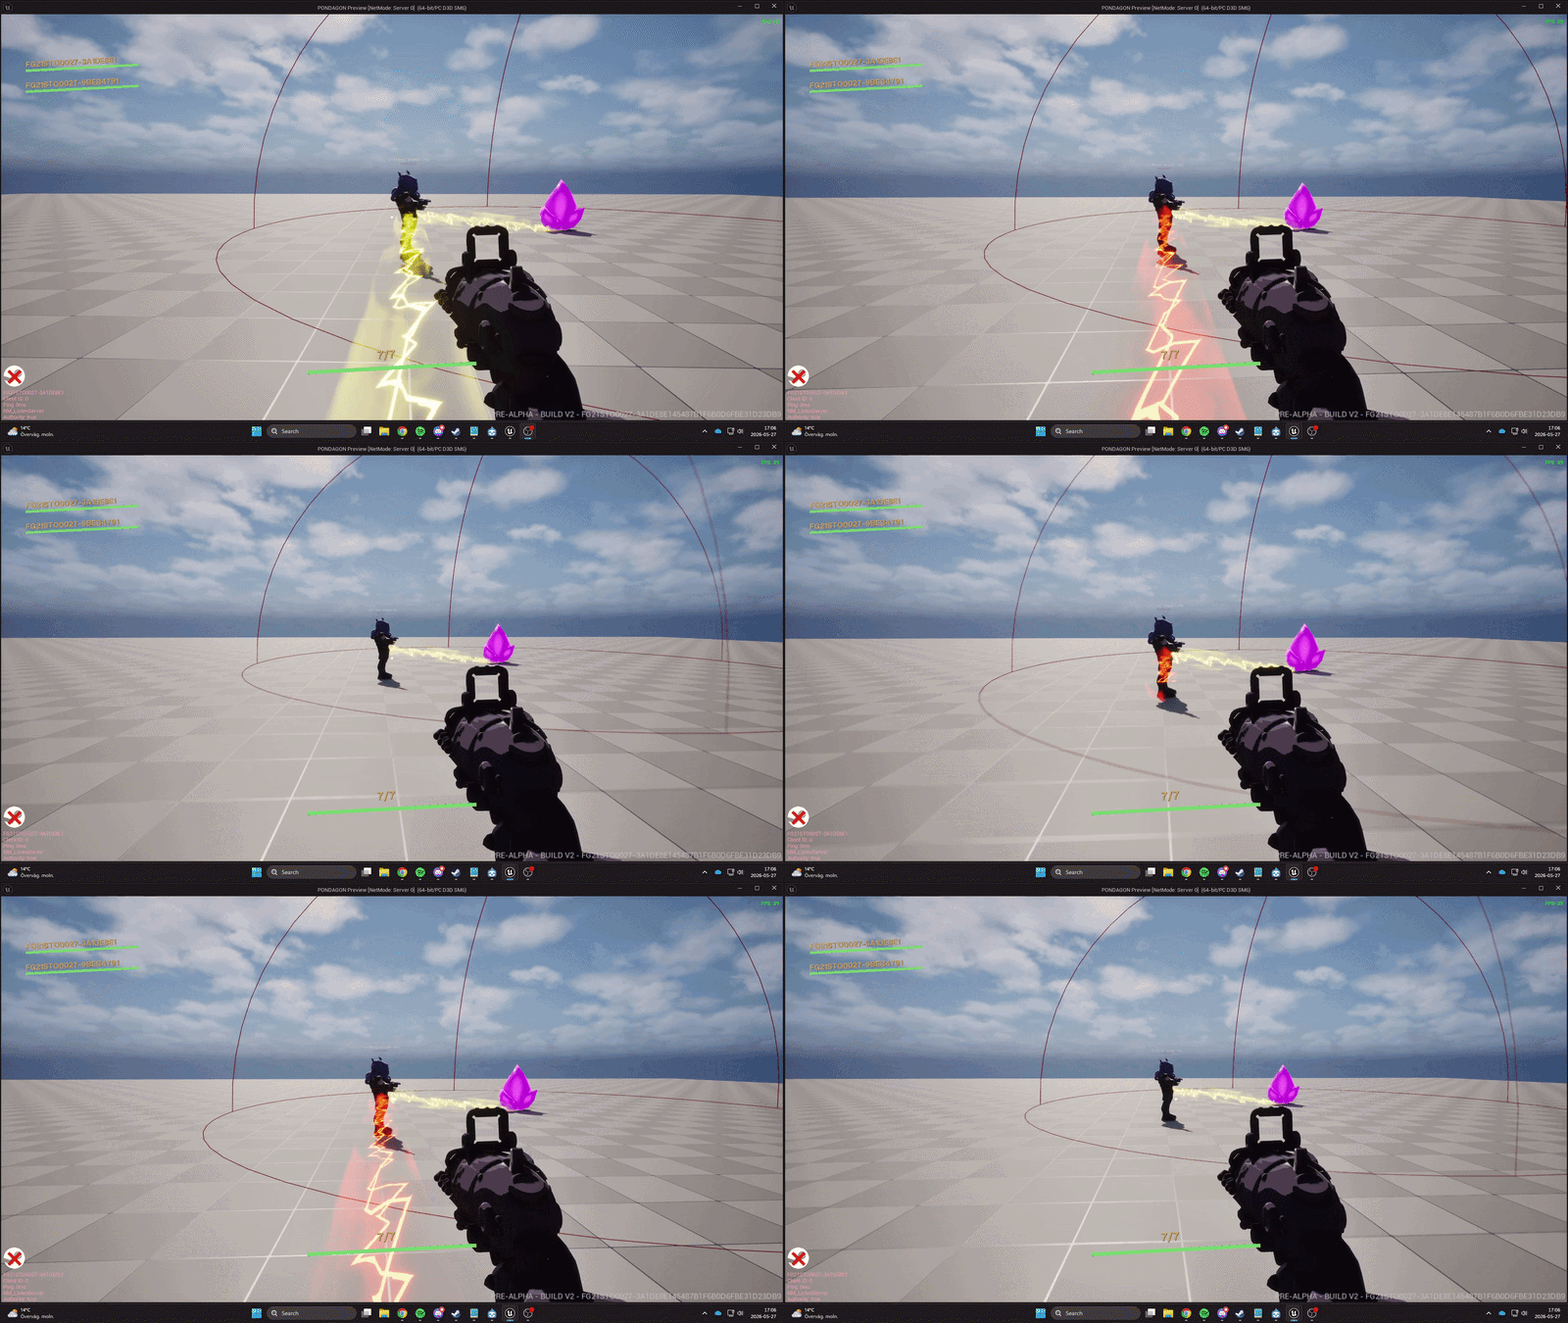
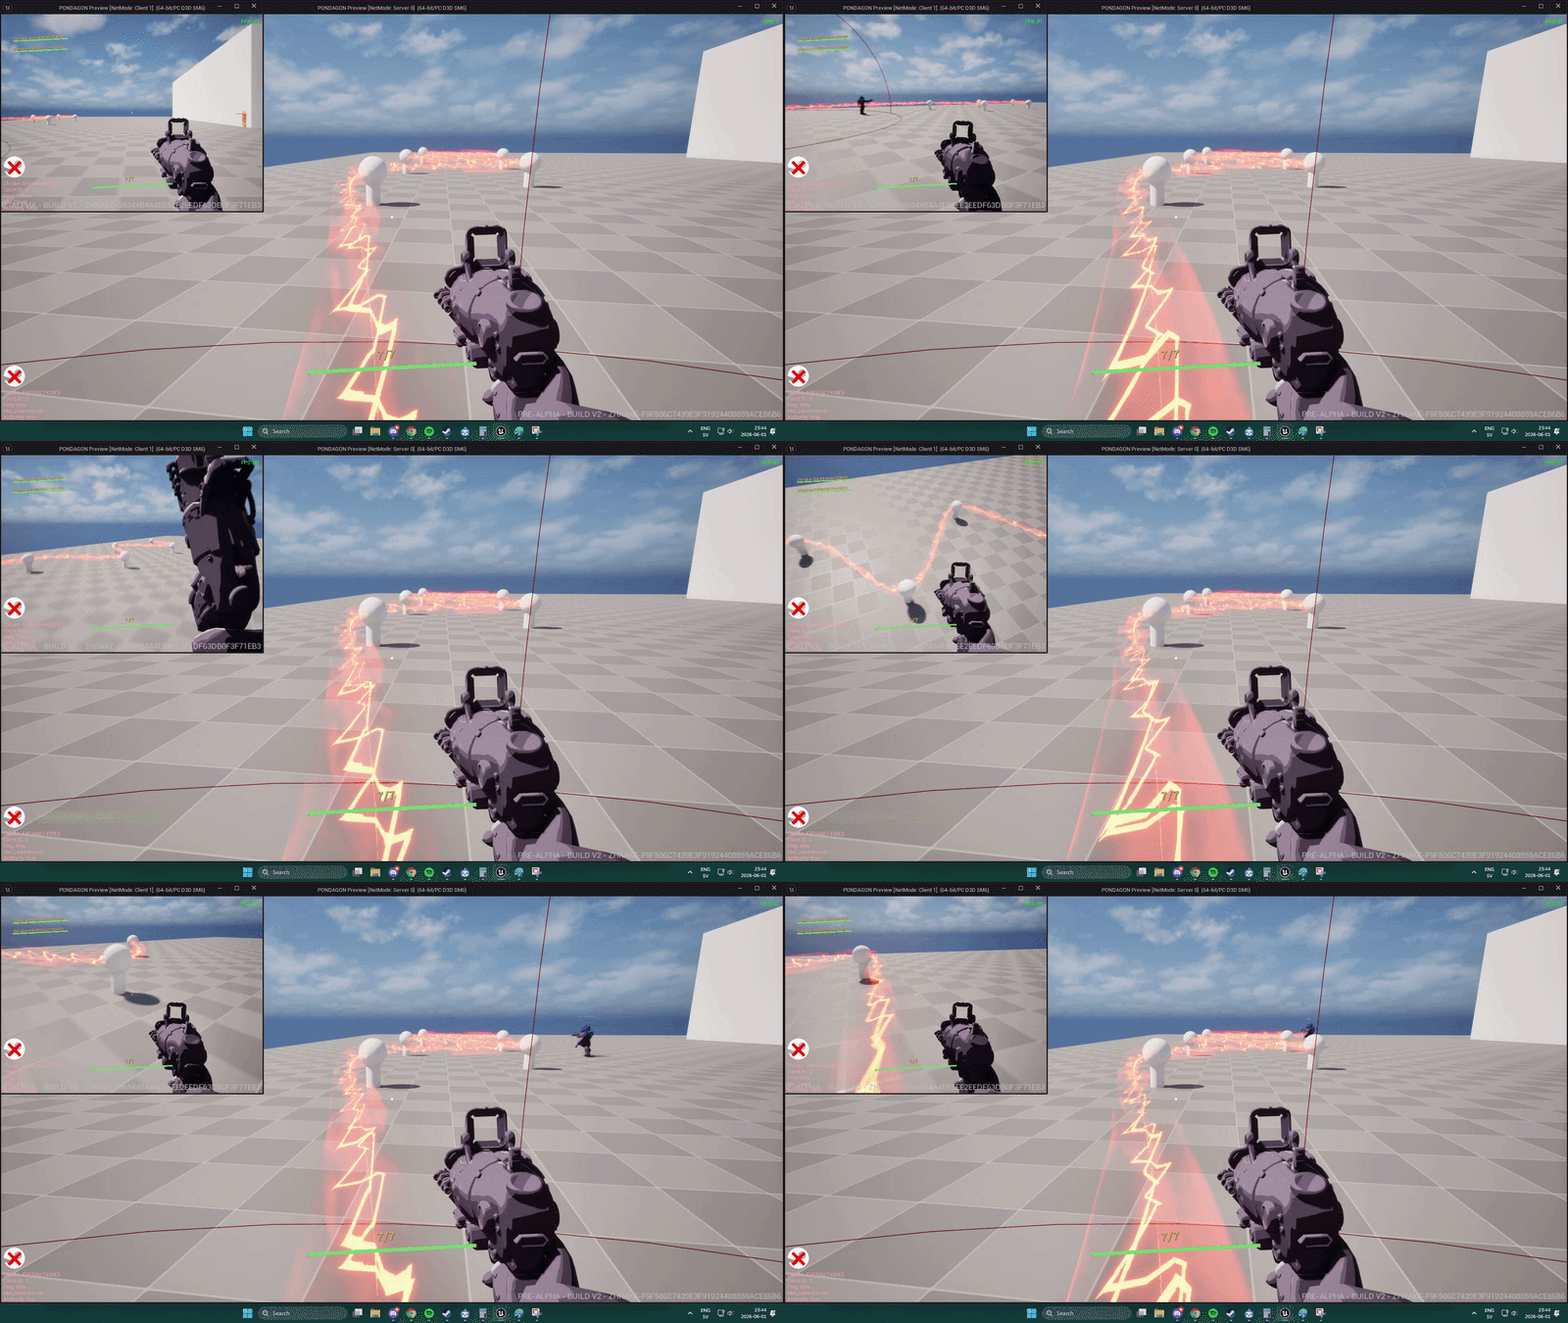
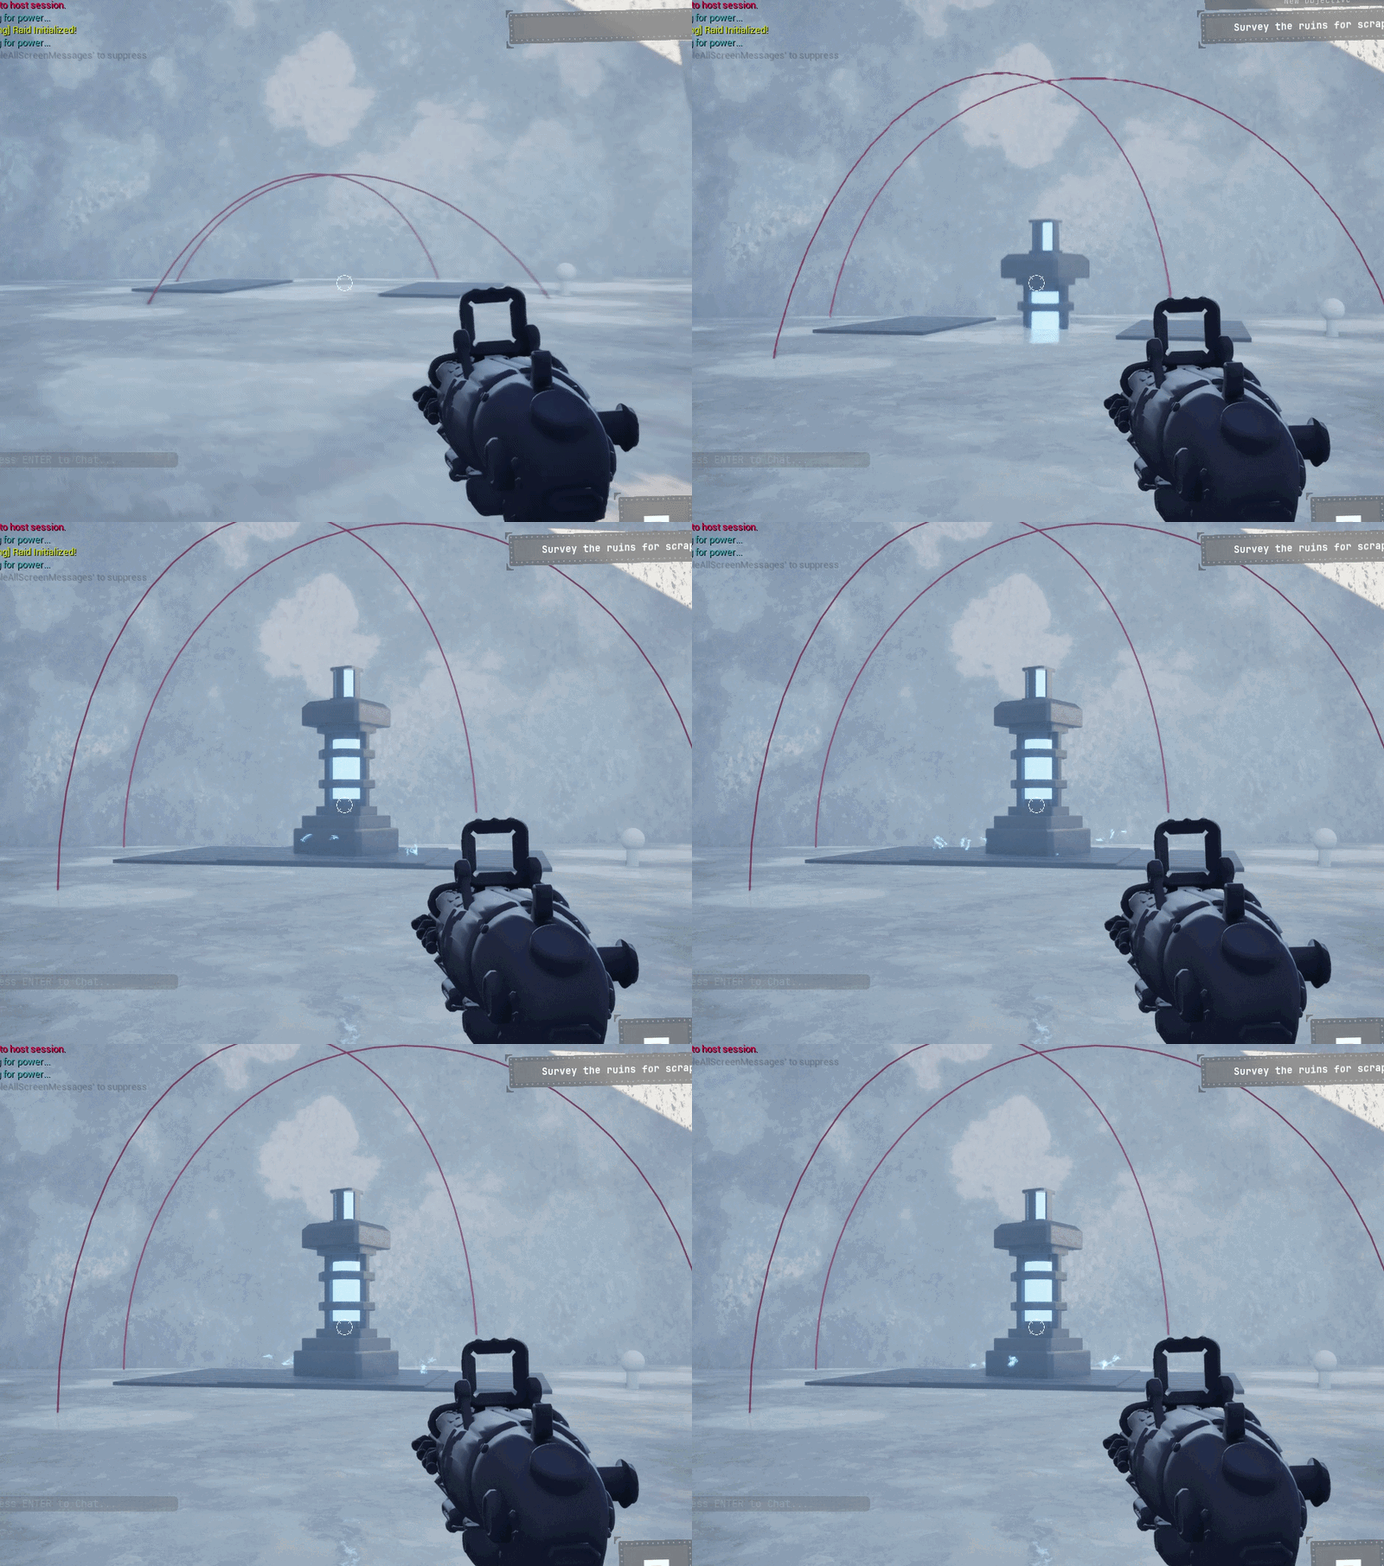
The puzzle features three different interactable objects – chargers, pylons and capacitors. The puzzle’s objective is to connect a charger with a capacitor, that then opens a door – leading to the next area.
When a player approaches a charger, they get charged with electricity and creates an electric tether. The player will then go near a pylon – thus charging it and allowing the tether to flow further. If the player connected to the charger steps out of its range, the entire chain of electricity will be broken. Players need to work together and connect the charger’s electricity with the capacitor at the end – helping each other form the circuit that can reach it.
Symbol
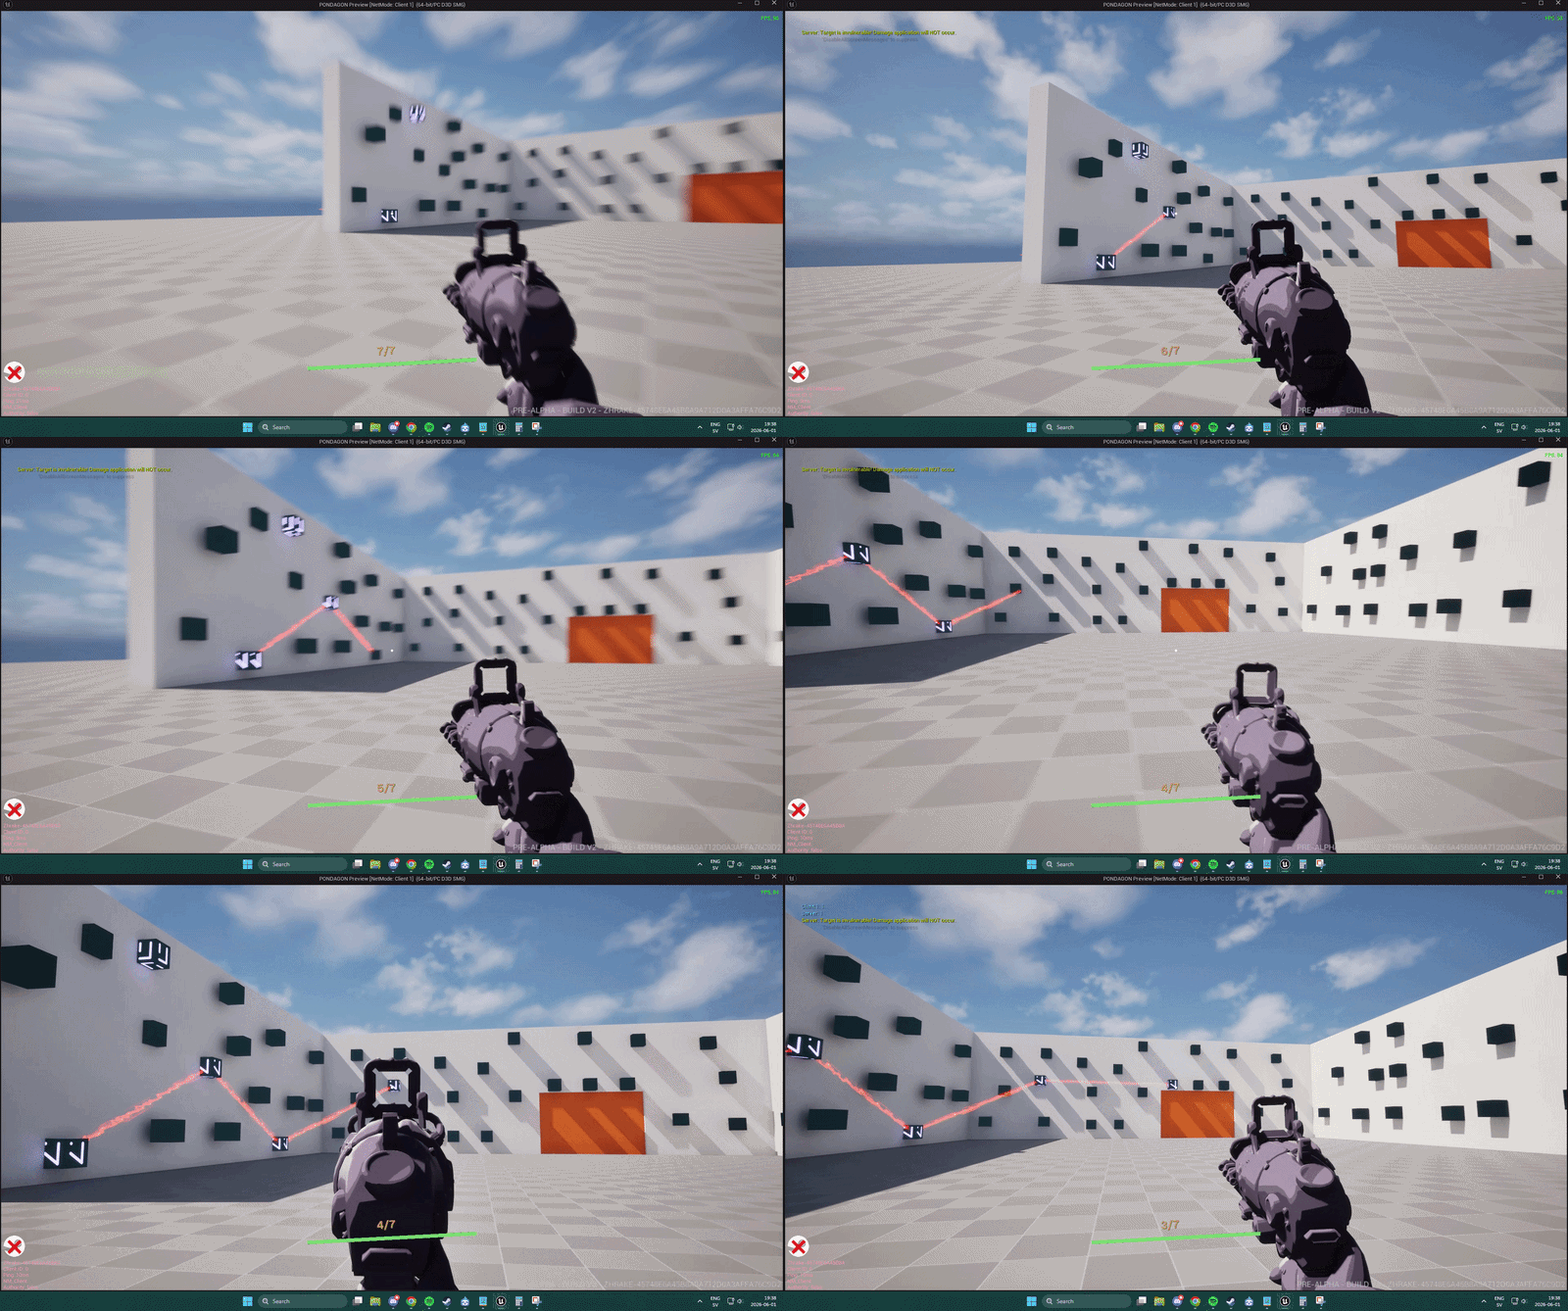
The puzzle features two different interactable object – glowing- and dim symbols. The puzzle’s objective is to shoot the glowing symbols which will create a tether to a dim symbol – making it glow. The players follows the symbols path, shooting the glowing symbols until they shoot the last one – that activates a door.
Boss Onboarding
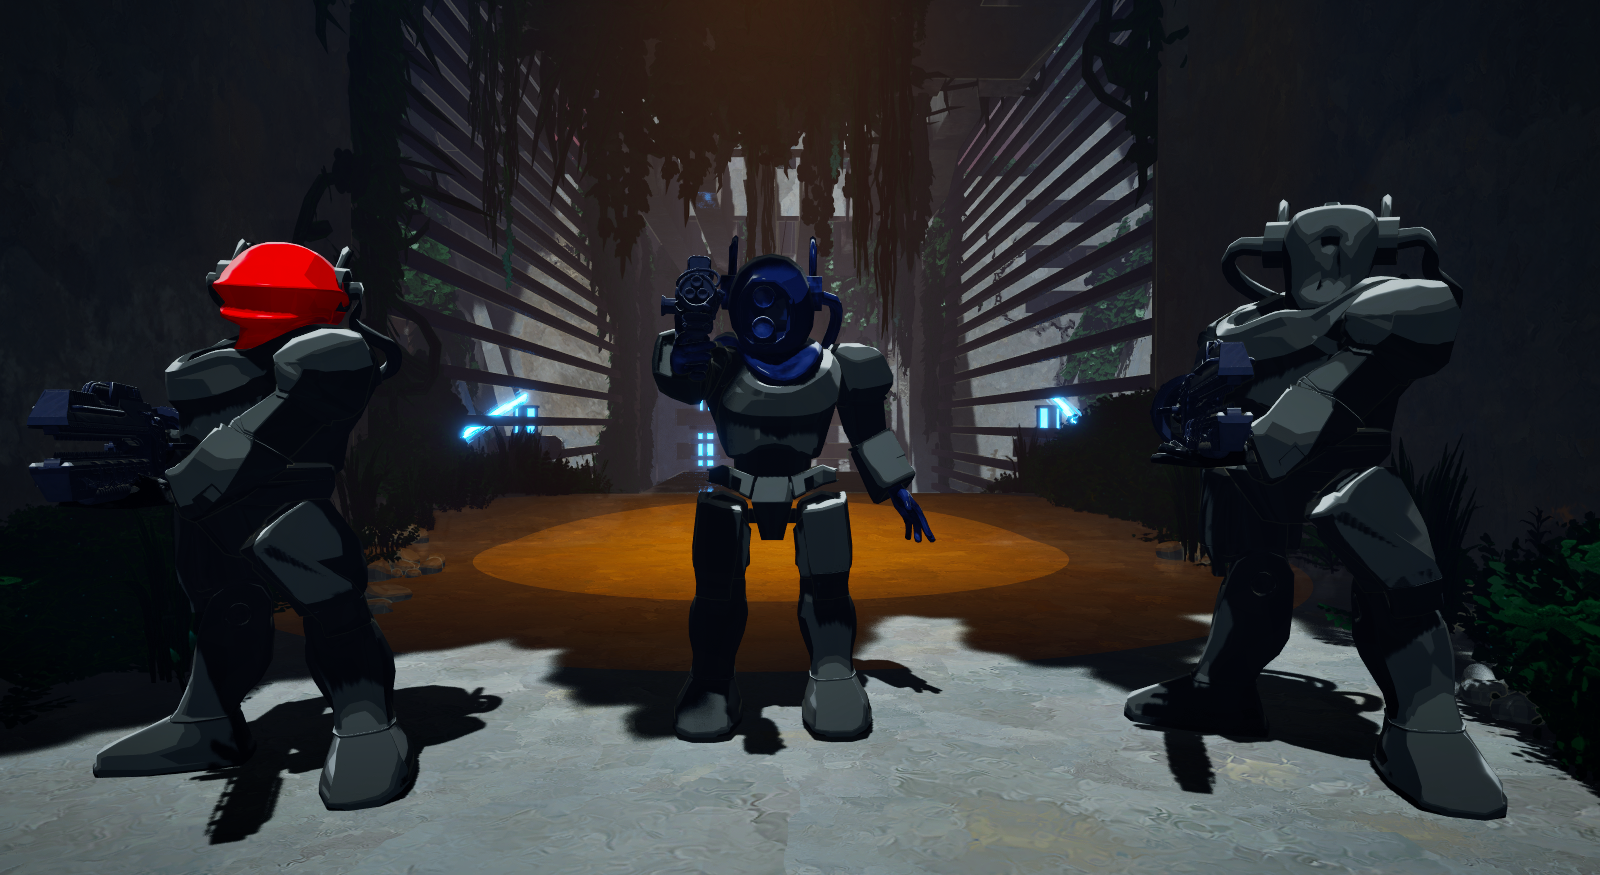
The boss has the Symbols on his arms, that the players will shoot in phase 1 and 2 to deal damage to the boss. The symbols is, by the time they see the boss, onboarded through the puzzles and they will understand that the symbols are the weakpoints.
Once a set of symbols are connected, the boss will attack the players with a mega laser. Whilst the boss is charging up his attack – chargers will elevate from the ground, allowing the players to power and raise walls to block the attack.

Process and Workflow
When creating the puzzles I wrote down their purpose, the desired level of complexity and what other mechanics they should strengthen within the game.
The Puzzles Purpose
The puzzle’s purpose – like mentioned before – is to introduce tension and friction for the players, whilst also hinting towards how to beat the boss.
How was this achieved?
- Reducing the level of complexity, meant that solving the puzzles and fighting enemies wouldn’t be too difficult.
- Forcing communication to solve the puzzles, made sure the players solved the puzzles together – giving every player something to do.
- The puzzles needed to be solved to progress the game, making sure that the players learn how to fight the boss – without knowing how the boss works.
Creating the First Versions
I started by creating 2D illustrations of the puzzles on Miro. When I had the layout and general idea figured out I talked to my teammates – asking for their feedback and input. When my teammates greenlit the puzzle I started creating them.
Blueprints
When I start working on code or blueprint, I always start by creating sudo code in a text editor. This helps me lay out the foundation of what I want to have built, and also helps me see the bigger picture.
Below are the final versions of the blueprints I created. Click the blueprints in the list to see them.
Tether Blueprints
The charger is responsible for most of the logic. It stores which actors can be affected by it and who is currently affected by it, stored in two different arrays. Using the arrays, the charger spawns the tether (vfx spline) and is responsible for updating the tether’s position.
When the pylons get added to the array of actors affected by the charger, they emit blue glow. Giving visual feedback to the player that they are part of the circuit.
The capacitor use BP_TetherPoint to check if the required chargers’ tether has been connected to it. When all the capacitor’s tether points have gotten their charge, the door opens.
BP_DefensiveWall and BP_RaiseCharger are only used during the boss fight – in the way explained in the first segment.
The most difficult part of creating this puzzle was using replication, and sending out the information to other clients using an RPC. I had never worked on a multiplayer game before this, and it was a great learning experience.
Symbol Blueprints
The runesymbol is made using the Gameplay Ability System (GAS), and sends out event in the form of Gameplay Abilities when they recieve damage. If the runesymbol is glowing gets shot at by the player, it spawns a tether that reveals the next symbol to shot – and also makes it glow.
The runesymbol has a bool that sets it to “last symbol”, that when shot by the player increments an int inside BP_RuneSymbolDoor. When all “last symbols” are shot, the door opens.
The runesymbol has a bool that checks if it is the “big rune”. It’s a rune that better onboards the boss, as that rune has a health value that the players needs to reduce in order to open a door.
Working with GAS made creating multiplayer functionality a lot easier. I went from spending multiple hours debugging and fixing client errors, to eliminating them completely.